
The Master Bedroom - Before:

The Master Bedroom - After:


This is my own little version of a jewelry box, with much easier access. The necklace holder is actually a wooden tie rack that I found at Goodwill years ago for under $1.00. I gave it a quick coat of black satin spray paint and hung on the wall in the far corner of our room where the only time it's seen is when I get out of bed. It holds all of my necklaces perfectly and allows me to actually see what I have when picking something to go with my outfit. The earring holder is actually a picture frame I've had for years that was probably gifted or handed down at one point, so it was my favorite price - free. I also gave it a quick coat of black satin spray paint, after removing the glass and backing, picked up some decorative tin (you can get this from any local hardware store - but be sure to get thick tin, about $20 for a large sheet, and not the thin screen you put in a door or window as that would not be nearly strong enough to hold earrings). As I'm typing this I'm realizing it may be easier to just do a separate post about making the jewelry frame, so I think I will! Stay tuned... Anyway, I love my little "jewelry box... holder... wall", whatever you want to call it! I also have one of those jewelry trees that holds all of my bracelets, but it sits on my vanity on the other side of the room.

The Master Closet - After:

The Shoe Closet - Before:


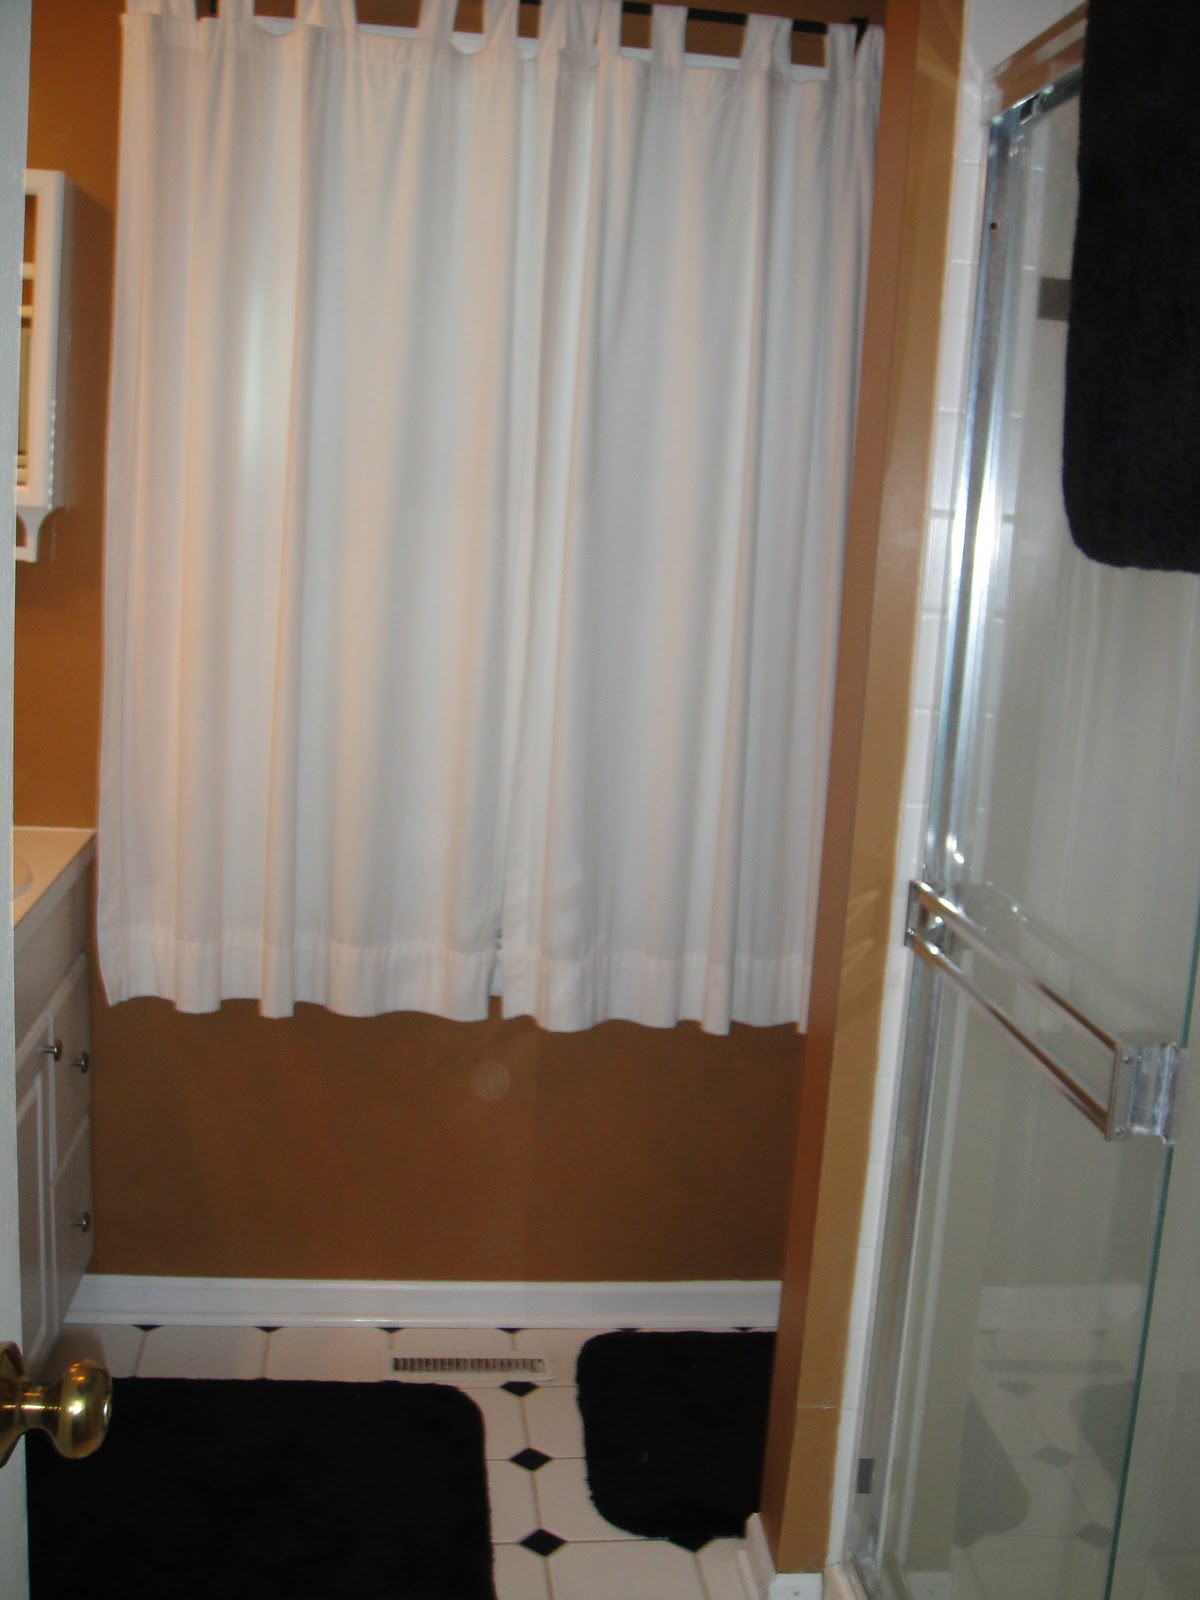
The Master Bath - Before:

The Master Bath - After:

The Office - Before:


The Office/Upstairs Guest Room - After:


For anyone that's wondering, yes, I was very nervous that our huge executive desk and credenza would not fit up that tiny stairway, but our fabulous movers were able to move it without breaking a sweat. Well, they probably broke a sweat (it is extremely heavy), but they still made it look easy! We love the fact that the space was big enough for our office furniture and pull-out coach, allowing us to create an extra guest bedroom when necessary. It has also proved to be very beneficial when my hubby and his Godfriends (aka, our brother-in-law and cousin-in-law) need a place to hold their "meetings" to discuss super-important topics like guns, sports, beer and video games. :)
The Basement - Before:


The Basement - After:

We aren't planning on the basement flooding (and are wishing, hoping, and praying that is never does) but just in case, Caton had the great idea to put all of our storage items on skids. We had the skids left over from moving some of our heavy furniture, but I'm sure these could be picked up behind a variety of stores that dispose of them on a daily or weekly basis. It brings me peace of mind just knowing that in the event the unthinkable flooding did happen, at least we have a few inches of saving grace to keep our out-of-season clothing, holiday decor and other not-used-all-that-often stuff safe and sound.


So there you have it, the digital tour of our house. We still have a few things we want to do here and there, (and we're sure there will be projects we take on over the next couple of years) but we're excited to be settled and call this place home. We can't wait for our family members and friends to visit and see it in person!
No comments:
Post a Comment